移动开发技术:APP门户页面设计与开发_移动门户系统设计-程序员宅基地
技术标签: java android studio
一:目标
设计一个app的门户框架,需要实现3-4个tab切换效果
在任一tab页中实现列表效果
二:技术说明
目标一需要的技术为:Activity、Xml、Fragment
Activity:Activity类是Android应用的关键组件,而Activity的启动和组合方式则是该平台应用模型的基本组成部分。在编程范式中,应用是通过main()方法启动的,而Android系统与此不同,它会调用与其生命周期特定阶段相对应的特定回调方法来启动Activity实例中的代码。
Xml:安卓开发中Xml文件和Java文件是一同存在的。我们可以把Java理解为创建对象和定义对象的方法,而Xml文件则是和使用者的可视化交互(即UI界面)。Xml包括了以下的交互功能:动画视频、图片(透明度、大小、位置)、布局、按钮、文字显示、主题、菜单等。
Fragment:Fragment是一种可以嵌入在Activity当中的UI片段,用来组建Activity界面的局部模块, 也可以说一个Actiivty界面可以由多个Fragment组成,其行为与Activity很相似,,有自己对应的布局(包含具体的View),,它有自己的生命周期,接收自己的输入事件,并且可以从运行中的activity中添加或移除
目标二需要使用Recycleview
Recycleview:RecycleView是Android开发中的一个视图组件,用于展示大量数据集合的列表或网格。它是ListView的升级版本,提供了更好的性能和灵活性。
三:代码解析
界面设计

主界面分为上中下三个部分,底部由4个tab页面组成,用4个fragment.xml以实现不同页面的切换。头部用top.xml一个文件完成对上方页面的设计,最后用一个activity_main.xml完成对各个布局文件的整合
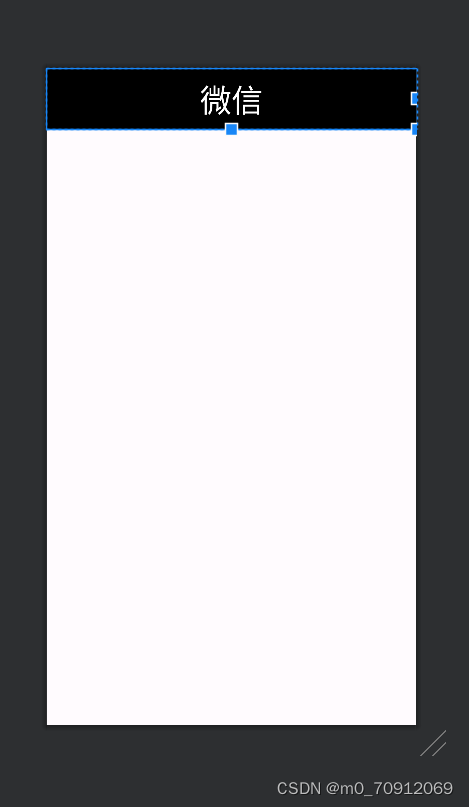
top.xml
用 android:text设置文本内容,用 android:textColor设置文本颜色,android:gravity用来设置view中的内容相对于view本身的对齐方式,调整好文本区域和字体大小即可,代码如下
<?xml version="1.0" encoding="utf-8"?>
<LinearLayout xmlns:android="http://schemas.android.com/apk/res/android"
    android:layout_width="match_parent"
    android:layout_height="match_parent">

    <TextView
        android:id="@+id/textView"
        android:layout_width="0dp"
        android:layout_height="68dp"
        android:layout_weight="1"
        android:gravity="center"
        android:shadowColor="#FFFFFF"
        android:text="微信"
        android:background="@color/black"
        android:textColor="@color/white"
        android:textSize="35dp" />
</LinearLayout>
预览效果
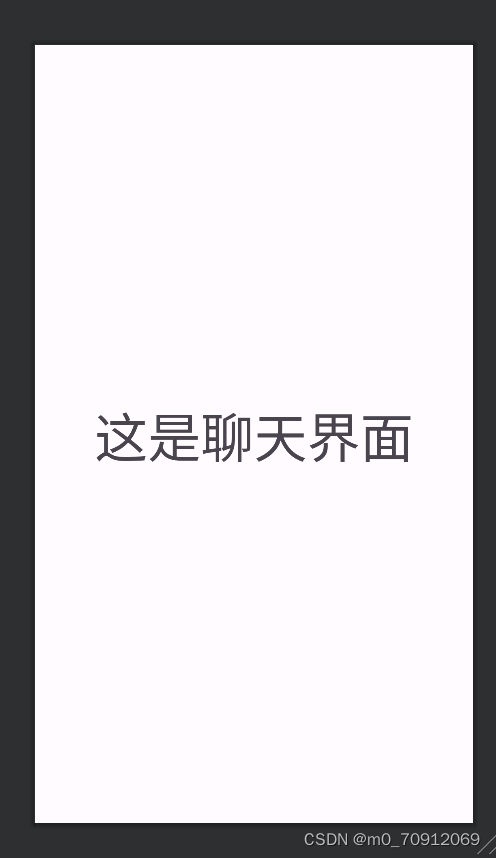
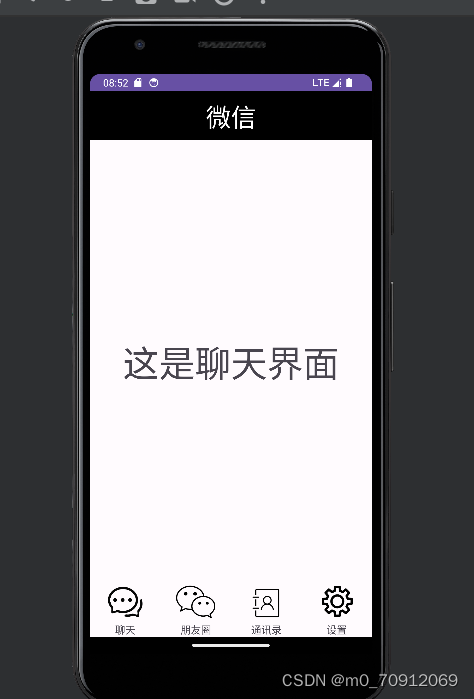
fragment.xml
其他页面与本页面类似,代码也类似
<?xml version="1.0" encoding="utf-8"?>
<FrameLayout xmlns:android="http://schemas.android.com/apk/res/android"
    xmlns:tools="http://schemas.android.com/tools"
    android:layout_width="match_parent"
    android:layout_height="match_parent"
    tools:context=".Fragment1">

    <!-- TODO: Update blank fragment layout -->
    <TextView
        android:id="@+id/textView2"
        android:layout_width="wrap_content"
        android:layout_height="wrap_content"
        android:layout_weight="1"
        android:layout_gravity="center"
        android:gravity="center"
        android:textSize="50dp"
        android:text="这是聊天界面" />

</FrameLayout>
预览效果
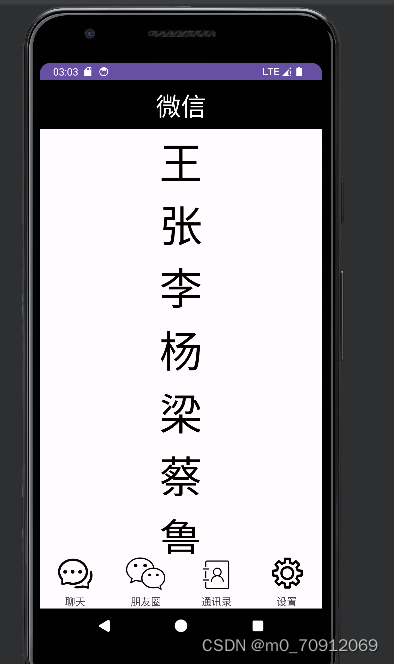
选定一个页面实现列表效果
重新设计其中一个fragment.xml文件
<?xml version="1.0" encoding="utf-8"?>
<LinearLayout xmlns:android="http://schemas.android.com/apk/res/android"
    xmlns:app="http://schemas.android.com/apk/res-auto"
    android:layout_width="match_parent"
    android:layout_height="match_parent">

    <androidx.recyclerview.widget.RecyclerView
        android:id="@+id/recycleView"
        android:layout_width="match_parent"
        android:layout_height="match_parent"
        app:layout_constraintBottom_toTopOf="parent"
        app:layout_constraintEnd_toStartOf="parent"
        app:layout_constraintStart_toEndOf="parent"
        app:layout_constraintTop_toBottomOf="parent"
        app:layout_constraintVertical_bias="0.489"
        />
</LinearLayout>
预览效果

新建一个item.xml用于设计此页面布局格式
<?xml version="1.0" encoding="utf-8"?>
<LinearLayout xmlns:android="http://schemas.android.com/apk/res/android"
android:layout_width="match_parent"
android:layout_height="wrap_content">
<TextView
android:id="@+id/textView44"
android:layout_width="match_parent"
android:layout_height="match_parent"
android:layout_weight="1"
android:gravity="center"
android:text="TextView"
android:textColor="@color/black"
android:textSize="20sp" />
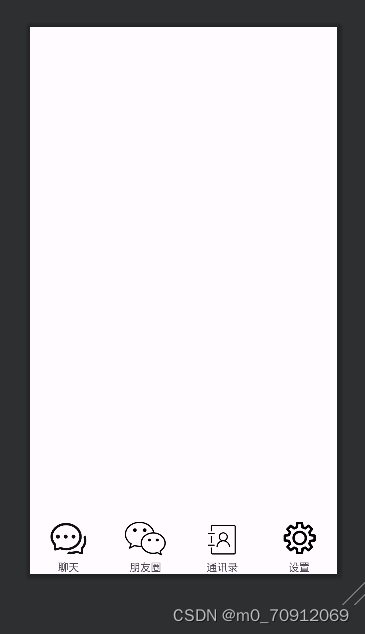
</LinearLayout>bottom.xml
用bottom.xml设计底部按钮栏,将需要的图片复制到drawble文件下

<?xml version="1.0" encoding="utf-8"?>
<LinearLayout xmlns:android="http://schemas.android.com/apk/res/android"
    android:layout_width="match_parent"
    android:layout_height="wrap_content"
    android:layout_gravity="bottom"
    android:orientation="horizontal">

    <LinearLayout
        android:id="@+id/layout1"
        android:layout_width="wrap_content"
        android:layout_height="match_parent"
        android:layout_weight="1"
        android:gravity="center"
        android:orientation="vertical">

        <ImageView
            android:id="@+id/imageView3"
            android:layout_width="match_parent"
            android:layout_height="55dp"
            android:src="@drawable/bottom_1" />

        <TextView
            android:id="@+id/textView33"
            android:layout_width="match_parent"
            android:layout_height="wrap_content"
            android:gravity="center"
            android:text="聊天" />

    </LinearLayout>

    <LinearLayout
        android:id="@+id/layout2"
        android:layout_width="wrap_content"
        android:layout_height="match_parent"
        android:layout_weight="1"
        android:gravity="center"
        android:orientation="vertical">

        <ImageView
            android:id="@+id/imageView1"
            android:layout_width="match_parent"
            android:layout_height="55dp"
            android:src="@drawable/bottom_3" />

        <TextView
            android:id="@+id/textView11"
            android:layout_width="match_parent"
            android:layout_height="wrap_content"
            android:gravity="center"
            android:text="朋友圈" />

    </LinearLayout>

    <LinearLayout
        android:id="@+id/layout3"
        android:layout_width="wrap_content"
        android:layout_height="wrap_content"
        android:layout_weight="1"
        android:gravity="center"
        android:orientation="vertical">

        <ImageView
            android:id="@+id/imageView2"
            android:layout_width="match_parent"
            android:layout_height="55dp"
            android:src="@drawable/bottom_2" />

        <TextView
            android:id="@+id/textView22"
            android:layout_width="match_parent"
            android:layout_height="wrap_content"
            android:gravity="center"
            android:text="通讯录" />

    </LinearLayout>


    <LinearLayout
        android:id="@+id/layout4"
        android:layout_width="wrap_content"
        android:layout_height="wrap_content"
        android:layout_weight="1"
        android:gravity="center"
        android:orientation="vertical">

        <ImageView
            android:id="@+id/imageView4"
            android:layout_width="match_parent"
            android:layout_height="55dp"
            android:src="@drawable/bottom_4" />

        <TextView
            android:id="@+id/textView44"
            android:layout_width="match_parent"
            android:layout_height="wrap_content"
            android:gravity="center"
            android:text="设置" />

    </LinearLayout>

</LinearLayout>
用imageview设计导入图片的格式,其中用 android:src="@drawable/bottom_4"导入需要用到的图片
预览效果
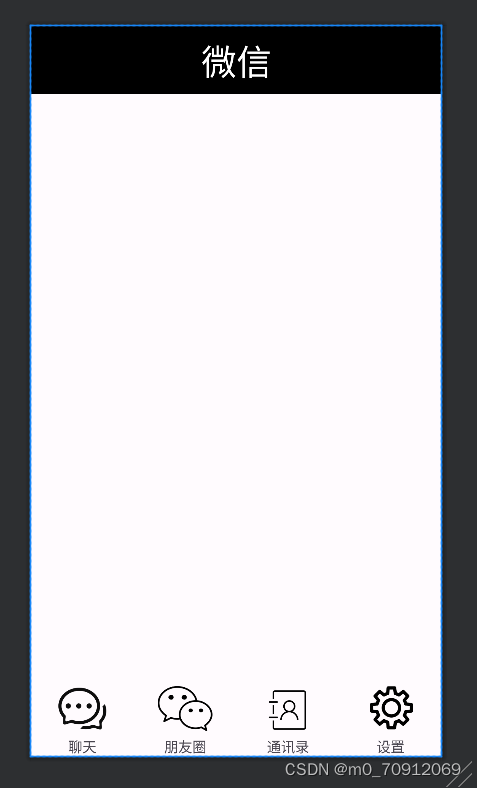
activity_main.xml
其他页面设计好后再用一个xml文件将其他页面整合,用一个content将top和bottom放入上方和下方
<?xml version="1.0" encoding="utf-8"?>
<LinearLayout xmlns:android="http://schemas.android.com/apk/res/android"
    xmlns:app="http://schemas.android.com/apk/res-auto"
    xmlns:tools="http://schemas.android.com/tools"
    android:layout_width="match_parent"
    android:layout_height="match_parent"
    android:orientation="vertical"
    tools:context=".MainActivity">


    <include
        layout="@layout/top"
        android:layout_width="match_parent"
        android:layout_height="wrap_content" />

    <FrameLayout
        android:id="@+id/content"
        android:layout_width="wrap_content"
        android:layout_height="match_parent"
        android:layout_gravity="center"
        android:layout_weight="3" />

    <include
        layout="@layout/bottom"
        android:layout_width="match_parent"
        android:layout_height="wrap_content" />
</LinearLayout>
预览效果
java文件
首先用四个fragment文件分别连接对应的fragment.xml文件
各个文件代码类似
package com.example.myapplication;

import android.os.Bundle;

import androidx.fragment.app.Fragment;

import android.view.LayoutInflater;
import android.view.View;
import android.view.ViewGroup;

public class Fragment1 extends Fragment {

    public View onCreateView(LayoutInflater inflater, ViewGroup container,
                             Bundle savedInstanceState) {
        // Inflate the layout for this fragment
        return inflater.inflate(R.layout.fragment_blank1, container, false);
    }
}
修改其中一个fragment
package com.example.myapplication;

import android.annotation.SuppressLint;
import android.content.Context;
import android.os.Bundle;
import android.view.LayoutInflater;
import android.view.View;
import android.view.ViewGroup;

import androidx.fragment.app.Fragment;
import androidx.recyclerview.widget.LinearLayoutManager;
import androidx.recyclerview.widget.RecyclerView;
import java.util.*;

public class Fragment2 extends Fragment {
    Context context;
    List list;
    RecyclerView recyclerView;
    Myadapter myadapter;

    @SuppressLint("MissingInflatedId")
    @Override
    public View onCreateView(LayoutInflater inflater, ViewGroup container,Bundle savedInstanceState) {
        View view = inflater.inflate(R.layout.fragment_blank2, container, false);
        context = view.getContext();
        recyclerView = view.findViewById(R.id.recycleView);
        List<String> contacts = new ArrayList<>();
        contacts.add("王");
        contacts.add("张");
        contacts.add("李");
        contacts.add("杨");
        contacts.add("梁");
        contacts.add("蔡");
        contacts.add("鲁");
        contacts.add("蒋");
        contacts.add("富");
        contacts.add("陈");
        contacts.add("刘");
        Myadapter myadapter = new Myadapter(contacts, getContext());
        recyclerView.setAdapter(myadapter);
        LinearLayoutManager manager = new LinearLayoutManager(context);
        manager.setOrientation(LinearLayoutManager.VERTICAL);
        recyclerView.setLayoutManager(manager);
        return view;

    }
}
通过findViewById找到对应的recycleview组件,通过list创建一个对象,将需要的东西存储在其中,再创建一个myadapter对象将数据传给适配器
Myadapter
package com.example.myapplication;

import android.content.Context;
import android.view.LayoutInflater;
import android.view.View;
import android.view.ViewGroup;
import android.widget.TextView;

import androidx.annotation.NonNull;
import androidx.recyclerview.widget.RecyclerView;

import java.util.List;
import java.util.zip.Inflater;

public class Myadapter extends RecyclerView.Adapter<Myadapter.Myholder> {
    List<String> list1;
    Context context1;

    public Myadapter(List list, Context context){
        context1=context;
        list1=list;
    }
    @NonNull
    @Override
    public Myholder onCreateViewHolder(@NonNull ViewGroup parent, int viewType) {
        View view=LayoutInflater.from(context1).inflate(R.layout.item,parent,false);
        Myholder myholder=new Myholder(view);
        return myholder;
    }


    @Override
    public void onBindViewHolder(@NonNull Myholder holder, int position) {
        holder.textView.setText(list1.get(position));

    }

    @Override
    public int getItemCount() {
        return list1.size();

    }
    class Myholder extends RecyclerView.ViewHolder{
        TextView textView;

        public Myholder(@NonNull View itemView) {
            super(itemView);
            textView=itemView.findViewById(R.id.textView44);
        }
    }
}
onCreateViewHolder(),用于连接到item.xml文件。再通过list1获取到应该显示的数据,以便将数据正常显示出来
MainActivity
package com.example.myapplication;

import androidx.appcompat.app.AppCompatActivity;
import androidx.fragment.app.Fragment;
import androidx.fragment.app.FragmentManager;
import androidx.fragment.app.FragmentTransaction;

import android.os.Bundle;
import android.view.View;
import android.widget.LinearLayout;

public class MainActivity extends AppCompatActivity implements View.OnClickListener {
    Fragment1 fragment;
    FragmentManager fm;
    FragmentTransaction ft;
    Fragment fragment1, fragment2, fragment3, fragment4;
    LinearLayout linearLayout1, linearLayout2, linearLayout3, linearLayout4;

    @Override
    protected void onCreate(Bundle savedInstanceState) {
        super.onCreate(savedInstanceState);
        setContentView(R.layout.activity_main1);
        linearLayout1 = findViewById(R.id.layout2);
        linearLayout2 = findViewById(R.id.layout3);
        linearLayout3 = findViewById(R.id.layout1);
        linearLayout4 = findViewById(R.id.layout4);
        fm = getSupportFragmentManager();
        fragment1 = new Fragment1();
        fragment2 = new Fragment2();
        fragment3 = new Fragment3();
        fragment4 = new Fragment4();
        innitial();
        fragmentshow(fragment1);
        ft = fm.beginTransaction();
        linearLayout1.setOnClickListener(this);
        linearLayout2.setOnClickListener(this);
        linearLayout3.setOnClickListener(this);
        linearLayout4.setOnClickListener(this);

    }

    private void fragmenthide() {
        ft = fm.beginTransaction()
                .hide(fragment1)
                .hide(fragment2)
                .hide(fragment3)
                .hide(fragment4);
        ft.commit();
    }

    private void fragmentshow(Fragment fragment) {
        fragmenthide();
        ft = fm.beginTransaction()
                .show(fragment);
        ft.commit();
    }

    private void innitial() {
        FragmentTransaction ft = fm.beginTransaction()
                .add(R.id.content, fragment1)
                .add(R.id.content, fragment2)
                .add(R.id.content, fragment3)
                .add(R.id.content, fragment4);
        ft.commit();
    }
    @Override
    public void onClick(View view) {
        fragmenthide();
        if (view.getId() == R.id.layout2) {
            fragmenthide();
            fragmentshow(fragment1);
        }
        if (view.getId() == R.id.layout3) {
            fragmenthide();
            fragmentshow(fragment2);
        }
        if (view.getId() == R.id.layout1) {
            fragmenthide();
            fragmentshow(fragment3);
        }
        if (view.getId() == R.id.layout4) {
            fragmenthide();
            fragmentshow(fragment4);
        }

    }
}
其中编写了fragmentshow和fragmenthide函数用于各个页面的打开和隐藏,再编写onclick函数,用getId连接对应的页面,使点击时能出现对应页面
最终效果
智能推荐
linux devkmem 源码,linux dev/mem dev/kmem实现访问物理/虚拟内存-程序员宅基地
文章浏览阅读451次。dev/mem: 物理内存的全镜像。可以用来访问物理内存。/dev/kmem: kernel看到的虚拟内存的全镜像。可以用来访问kernel的内容。调试嵌入式Linux内核时,可能需要查看某个内核变量的值。/dev/kmem正好提供了访问内核虚拟内存的途径。现在的内核大都默认禁用了/dev/kmem,打开的方法是在 make menuconfig中选中 device drivers --> ..._dev/mem 源码实现
vxe-table 小众但功能齐全的vue表格组件-程序员宅基地
文章浏览阅读7.1k次,点赞2次,收藏19次。vxe-table,一个小众但功能齐全并支持excel操作的vue表格组件_vxe-table
(开发)bable - es6转码-程序员宅基地
文章浏览阅读62次。参考:http://www.ruanyifeng.com/blog/2016/01/babel.htmlBabelBabel是一个广泛使用的转码器,可以将ES6代码转为ES5代码,从而在现有环境执行// 转码前input.map(item => item + 1);// 转码后input.map(function (item) { return item..._让开发环境支持bable
FPGA 视频处理 FIFO 的典型应用_fpga 频分复用 视频-程序员宅基地
文章浏览阅读2.8k次,点赞6次,收藏29次。摘要:FPGA视频处理FIFO的典型应用,视频输入FIFO的作用,视频输出FIFO的作用,视频数据跨时钟域FIFO,视频缩放FIFO的作用_fpga 频分复用 视频
R语言:设置工作路径为当前文件存储路径_r语言设置工作目录到目标文件夹-程序员宅基地
文章浏览阅读575次。【代码】R语言:设置工作路径为当前文件存储路径。_r语言设置工作目录到目标文件夹
background 线性渐变-程序员宅基地
文章浏览阅读452次。格式:background: linear-gradient(direction, color-stop1, color-stop2, ...);<linear-gradient> = linear-gradient([ [ <angle> | to <side-or-corner>] ,]? &l..._background线性渐变
随便推点
【蓝桥杯省赛真题39】python输出最大的数 中小学青少年组蓝桥杯比赛 算法思维python编程省赛真题解析-程序员宅基地
文章浏览阅读1k次,点赞26次,收藏8次。第十三届蓝桥杯青少年组python编程省赛真题一、题目要求(注:input()输入函数的括号中不允许添加任何信息)1、编程实现给定一个正整数N,输出正整数N中各数位最大的那个数字。例如:N=132,则输出3。2、输入输出输入描述:只有一行,输入一个正整数N输出描述:只有一行,输出正整数N中各数位最大的那个数字输入样例:
网络协议的三要素-程序员宅基地
文章浏览阅读2.2k次。一个网络协议主要由以下三个要素组成:1.语法数据与控制信息的结构或格式,包括数据的组织方式、编码方式、信号电平的表示方式等。2.语义即需要发出何种控制信息,完成何种动作,以及做出何种应答,以实现数据交换的协调和差错处理。3.时序即事件实现顺序的详细说明,以实现速率匹配和排序。不完整理解:语法表示长什么样,语义表示能干什么,时序表示排序。转载于:https://blog.51cto.com/98..._网络协议三要素csdn
The Log: What every software engineer should know about real-time data's unifying abstraction-程序员宅基地
文章浏览阅读153次。主要的思想,将所有的系统都可以看作两部分,真正的数据log系统和各种各样的query engine所有的一致性由log系统来保证,其他各种query engine不需要考虑一致性,安全性,只需要不停的从log系统来同步数据,如果数据丢失或crash可以从log系统replay来恢复可以看出kafka系统在linkedin中的重要地位,不光是d..._the log: what every software engineer should know about real-time data's uni
《伟大是熬出来的》冯仑与年轻人闲话人生之一-程序员宅基地
文章浏览阅读746次。伟大是熬出来的 目录 前言 引言 时间熬成伟大:领导者要像狼一样坚忍 第一章 内圣外王——领导者的心态修炼 1. 天纵英才的自信心 2. 上天揽月的企图心 3. 誓不回头的决心 4. 宠辱不惊的平常心 5. 换位思考的同理心 6. 激情四射的热心 第二章 日清日高——领导者的高效能修炼 7. 积极主动,想到做到 8. 合理掌控自己的时间和生命 9. 制定目标,马..._当狼拖着受伤的右腿逃生时,右腿会成为前进的阻碍,它会毫不犹豫撕咬断自己的腿, 以
有源光缆AOC知识百科汇总-程序员宅基地
文章浏览阅读285次。在当今的大数据时代,人们对高速度和高带宽的需求越来越大,迫切希望有一种新型产品来作为高性能计算和数据中心的主要传输媒质,所以有源光缆(AOC)在这种环境下诞生了。有源光缆究竟是什么呢?应用在哪些领域,有什么优势呢?易天将为您解答!有源光缆(Active Optical Cables,简称AOC)是两端装有光收发器件的光纤线缆,主要构成部件分为光路和电路两部分。作为一种高性能计..._aoc 光缆
浏览器代理服务器自动配置脚本设置方法-程序员宅基地
文章浏览阅读2.2k次。在“桌面”上按快捷键“Ctrl+R”,调出“运行”窗口。接着,在“打开”后的输入框中输入“Gpedit.msc”。并按“确定”按钮。如下图 找到“用户配置”下的“Windows设置”下的“Internet Explorer 维护”的“连接”,双击选择“自动浏览器配置”。如下图 选择“自动启动配置”,并在下面的“自动代理URL”中填写相应的PAC文件地址。如下..._設置proxy腳本